Using EntityFramework Core for configuration and operational data
Note
For any pre-requisites (like e.g. templates) have a look at the overview first.
IdentityServer is designed for extensibility, and one of the extensibility points is the storage mechanism used for data that IdentityServer needs. This quickstart shows how to configure IdentityServer to use EntityFramework Core (EF) as the storage mechanism for this data (rather than using the in-memory implementations we had been using up until now).
Note
In addition to manually configuring EF support, there is also an IdentityServer template to create a new project with EF support. Use dotnet new is4ef to create it. See here for more information.
IdentityServer4.EntityFramework
There are two types of data that we are moving to the database:
- Configuration Data
- Operational Data
The configuration data is the configuration information about resources and clients. The operational data is information that IdentityServer produces as it’s being used such as tokens, codes, and consents. These stores are modeled with interfaces, and we provide an EF implementation of these interfaces in the IdentityServer4.EntityFramework.Storage Nuget package.
The extension methods to register our EF implementation are contained in the IdentityServer4.EntityFramework Nuget package (which references IdentityServer4.EntityFramework.Storage). Add a reference to the IdentityServer4.EntityFramework Nuget package from you IdentityServer project now:
cd quickstart/src/IdentityServer
dotnet add package IdentityServer4.EntityFramework
Using SqlServer
Given EF’s flexibility, you can then use any EF-supported database. For this quickstart we will use the LocalDb version of SQLServer that comes with Visual Studio.
Database Schema Changes and Using EF Migrations
The IdentityServer4.EntityFramework.Storage package contains entity classes that map from IdentityServer’s models. As IdentityServer’s models change, so will the entity classes in IdentityServer4.EntityFramework.Storage. As you use IdentityServer4.EntityFramework.Storage and upgrade over time, you are responsible for your own database schema and changes necessary to that schema as the entity classes change. One approach for managing those changes is to use EF migrations, and this quickstart will show how that can be done. If migrations are not your preference, then you can manage the schema changes in any way you see fit.
Note
The latest SQL scripts for SqlServer are maintained for the entities in IdentityServer4.EntityFramework.Storage. They are located here.
Configuring the stores
The next step is to replace the current calls to AddInMemoryClients, AddInMemoryIdentityResources, and AddInMemoryApiResources in the ConfigureServices method in Startup.cs.
We will replace them with this code:
const string connectionString = @"Data Source=(LocalDb)\MSSQLLocalDB;database=IdentityServer4.Quickstart.EntityFramework-2.0.0;trusted_connection=yes;";
var migrationsAssembly = typeof(Startup).GetTypeInfo().Assembly.GetName().Name;

// configure identity server with in-memory stores, keys, clients and scopes
services.AddIdentityServer()
    .AddTestUsers(Config.GetUsers())
    // this adds the config data from DB (clients, resources)
    .AddConfigurationStore(options =>
    {
        options.ConfigureDbContext = b =>
            b.UseSqlServer(connectionString,
                sql => sql.MigrationsAssembly(migrationsAssembly));
    })
    // this adds the operational data from DB (codes, tokens, consents)
    .AddOperationalStore(options =>
    {
        options.ConfigureDbContext = b =>
            b.UseSqlServer(connectionString,
                sql => sql.MigrationsAssembly(migrationsAssembly));

        // this enables automatic token cleanup. this is optional.
        options.EnableTokenCleanup = true;
    });
You might need these namespaces added to the file:
using Microsoft.EntityFrameworkCore;
using System.Reflection;
The above code is hard-coding a connection string, which you should feel free to change if you wish.
AddConfigurationStore and AddOperationalStore register the EF-backed store implementations.
Inside the calls to add the stores, the assignments to the ConfigureDbContext property registers delegates to configure the database provider on the DbContextOptionsBuilder.
In this case we call UseSqlServer to register SQLServer.
As you can also tell, this is where the connection string is used.
Finally, given that EF migrations will be used (as least for this quickstart) the call to MigrationsAssembly is used to inform EF the host project that will contain the migrations code (which is necessary since it is a different than the assembly that contains the DbContext classes).
We’ll add the migrations next.
Adding migrations
To create the migrations, open a command prompt in the IdentityServer project directory. In the command prompt run these two commands:
dotnet ef migrations add InitialIdentityServerPersistedGrantDbMigration -c PersistedGrantDbContext -o Data/Migrations/IdentityServer/PersistedGrantDb
dotnet ef migrations add InitialIdentityServerConfigurationDbMigration -c ConfigurationDbContext -o Data/Migrations/IdentityServer/ConfigurationDb
You should now see a ~/Data/Migrations/IdentityServer folder in the project. This contains the code for the newly created migrations.
Initialize the database
Now that we have the migrations, we can write code to create the database from the migrations. We will also seed the database with the in-memory configuration data that we defined in the previous quickstarts.
Note
The approach used in this quickstart is used to simply make it easy to get IdentityServer up and running. You should devise your own database creation and maintenance strategy that is appropriate for your architecture.
In Startup.cs add this method to help initialize the database:
private void InitializeDatabase(IApplicationBuilder app)
{
    using (var serviceScope = app.ApplicationServices.GetService<IServiceScopeFactory>().CreateScope())
    {
        serviceScope.ServiceProvider.GetRequiredService<PersistedGrantDbContext>().Database.Migrate();

        var context = serviceScope.ServiceProvider.GetRequiredService<ConfigurationDbContext>();
        context.Database.Migrate();
        if (!context.Clients.Any())
        {
            foreach (var client in Config.GetClients())
            {
                context.Clients.Add(client.ToEntity());
            }
            context.SaveChanges();
        }

        if (!context.IdentityResources.Any())
        {
            foreach (var resource in Config.GetIdentityResources())
            {
                context.IdentityResources.Add(resource.ToEntity());
            }
            context.SaveChanges();
        }

        if (!context.ApiResources.Any())
        {
            foreach (var resource in Config.GetApis())
            {
                context.ApiResources.Add(resource.ToEntity());
            }
            context.SaveChanges();
        }
    }
}
The above code might require these namespaces to be added to your file:
using System.Linq;
using IdentityServer4.EntityFramework.DbContexts;
using IdentityServer4.EntityFramework.Mappers;
And then we can invoke this from the Configure method:
public void Configure(IApplicationBuilder app)
{
    // this will do the initial DB population
    InitializeDatabase(app);

    // the rest of the code that was already here
    // ...
}
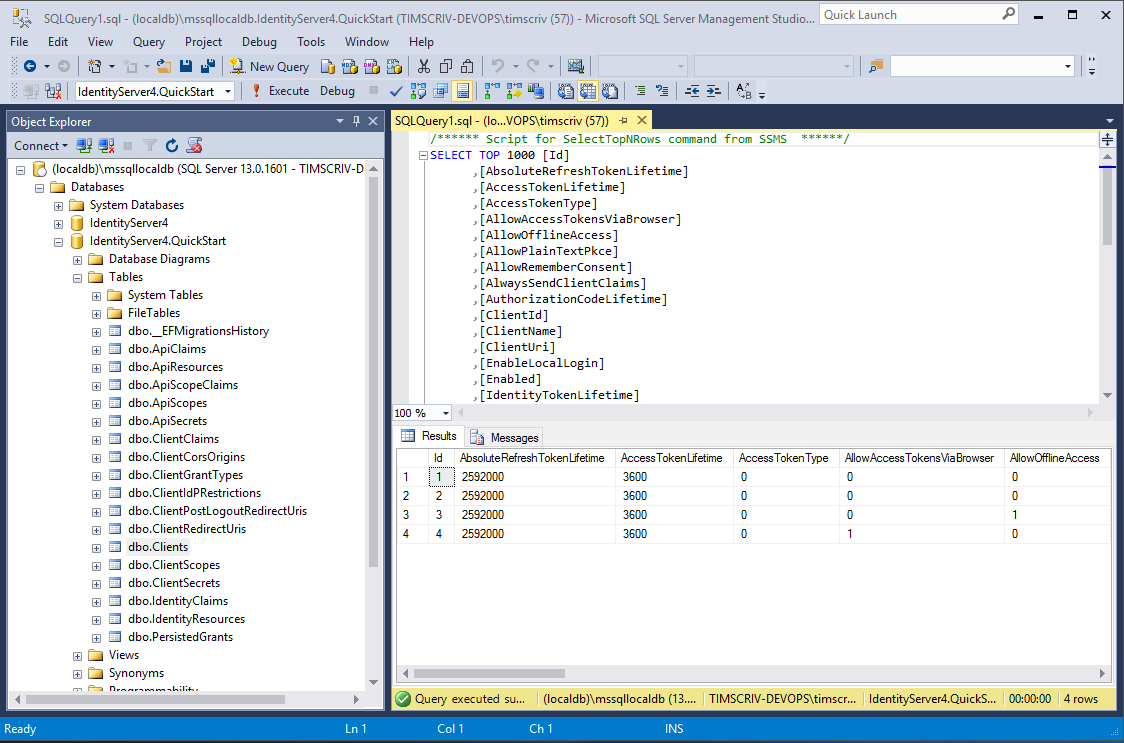
Now if you run the IdentityServer project, the database should be created and seeded with the quickstart configuration data. You should be able to use SQL Server Management Studio or Visual Studio to connect and inspect the data.
Note
The above InitializeDatabase helper API is convenient to seed the database, but this approach is not ideal to leave in to execute each time the applicaion runs. Once your database is populated, consider removing the call to the API.
Run the client applications
You should now be able to run any of the existing client applications and sign-in, get tokens, and call the API – all based upon the database configuration.
Note
The code as it stands in this section still relies upon Config.cs and its fictitious users Alice and Bob. If your user list is short and static, an adjusted version of Config.cs may suffice, however you may wish to manage a larger and more fluid user list dynamically within a database. ASP.NET Identity is one option to consider, and a sample implementation of this solution is listed among the quickstarts in the next section.